iPhone charging not working is rarely a catastrophic hardware failure. It is usually a maintenance issue. You plug in your device, wiggle the cord, hold it at a specific angle, and wait for the battery icon to turn green. When it doesn’t, your instinct is to rush to the Apple Store or order a new cable online. Stop. You are throwing money away.
In 90% of the devices I service here in the US, the battery isn’t dead, and the charging IC chip isn’t fried. If you are panic-searching for why is my iphone charging not working, the culprit is likely sitting in your pocket right now: Lint.
Before you spend a dime on repairs or accessories, follow this technician-grade guide. We will bypass the “restart your phone” basics and go straight to the hardware-level diagnosis to fix your connection.
| Guide At A Glance | |
| Difficulty Level | Easy (Non-Technical) |
| Time Required | 2–5 Minutes |
| Tools Needed | Wooden Toothpick + Flashlight |
| Cost to Fix | $0.00 |
The Technician’s Diagnosis: Why Power Fails
Most users assume a charging failure is binary: either it works, or it doesn’t. However, the symptoms tell us exactly where the failure is occurring. Use this data table to identify your specific issue before applying a fix.
| Symptom (What You See) | Real Cause | The Immediate Fix |
| Cable Wiggles / Loose | Compressed Pocket Lint | Deep Port Cleaning |
| Stops at 80% Exactly | Heat / Optimized Charging | Cool Down & Wait |
| “Accessory Not Supported” | Dirty Cable Pins / Non-MFi | Clean Cable Head or Replace |
| Totally Dead (Black Screen) | Firmware/Software Crash | Force Restart (Hard Reset) |
| Slow Charge (3+ Hours) | Low Wattage Adapter (5W) | Upgrade to 20W USB-C |
Phase 1: The “Toothpick Hack” (iPhone Charging Port Cleaning)
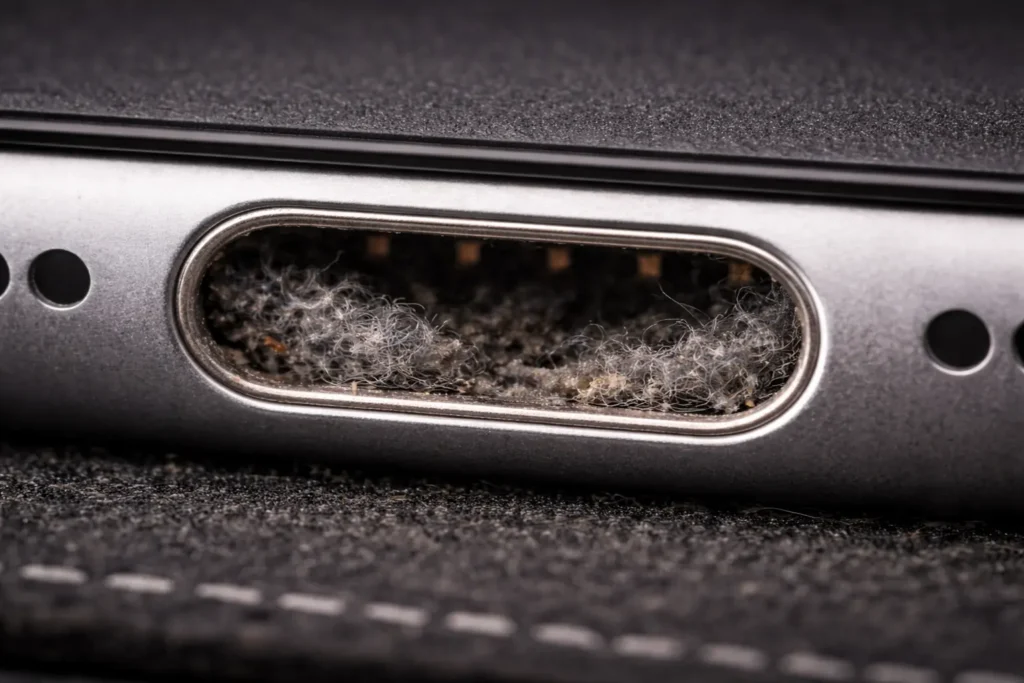
This is the most common reason for an iphone charging not working scenario. Most Americans carry their cell phones in pockets, purses, or gym bags. Every time you shove your device away, tiny fibers, dust, and debris are forced into the charging port.
When you plug in your Lightning or USB-C cable, you physically compress that trash into a hard layer at the bottom of the port. Eventually, the cable can’t make a solid “click” connection with the gold pins. The electricity literally cannot jump the gap caused by the lint.
The Wrong Way (Do NOT Do This)
- Do NOT use a metal safety pin.
- Do NOT use a sewing needle.
- Do NOT use compressed air (initially).
Using metal inside the port can bridge the power pins, causing a short circuit. Even Apple’s official cleaning guide strictly warns against using compressed air, as it can push debris further into the microphone grilles or damage the internal seals. We use wood because it is non-conductive and safer than metal tools.
The Right Way (Step-by-Step Fix)
- Power Down: Turn off your iPhone completely to prevent accidental shorts.
- Tool Selection: Grab a standard wooden toothpick or a plastic dental pick. Wood is non-conductive and softer than the delicate pins inside the phone.
- Visual Inspection: Shine a bright flashlight into the charging port. You will likely see a grey, felt-like substance matting the bottom.
- The Scoop: Gently insert the toothpick into the port.
- For Lightning Ports: Scrape mainly back and forth on the bottom.
- For USB-C (iPhone 15+): Be extremely careful of the “tongue” in the middle. Scrape around it, not across it.
- Extraction: Pull the toothpick out. You will likely drag out a surprising amount of lint.
- Repeat: Do this 2-3 times until the toothpick comes out clean and you can see the metallic bottom of the port.
Once the iphone charging port cleaning is done, plug your cable back in. You should feel a firm “click” or “snap.” If the issue was debris, the charge will start instantly.
| # Related Guide: Is It The Network or The Phone? |
| Sometimes hardware issues mask themselves as connection failures. If your charging is fine but you have zero signal, do not blame your carrier yet. Read This: iPhone Stuck on SOS Only: Stop Blaming Your Carrier (5 Fixes) |
Phase 2: Hardware Verification – iphone charging jack not working
If your port is clean but the iphone charging jack not working error persists, we must isolate the external hardware. A charging setup has two failure points: the Cable and the Power Adapter (Brick).
1. The Cable Diagnosis
Cables fail internally long before they look broken on the outside.
- Check the Pins: Look at the gold connectors on the tip of your charging cable. Are they black or corroded? Oxidation prevents power flow.
- Fix: Use a little isopropyl alcohol on a cloth to wipe the pins clean.
- The “MFi” Factor: If you see “Accessory Not Supported,” you are likely using a cheap gas station cable. These lack the MFi (Made for iPhone) certification chip. This chip regulates voltage. Without it, your iPhone may refuse the charge to protect itself from voltage spikes.
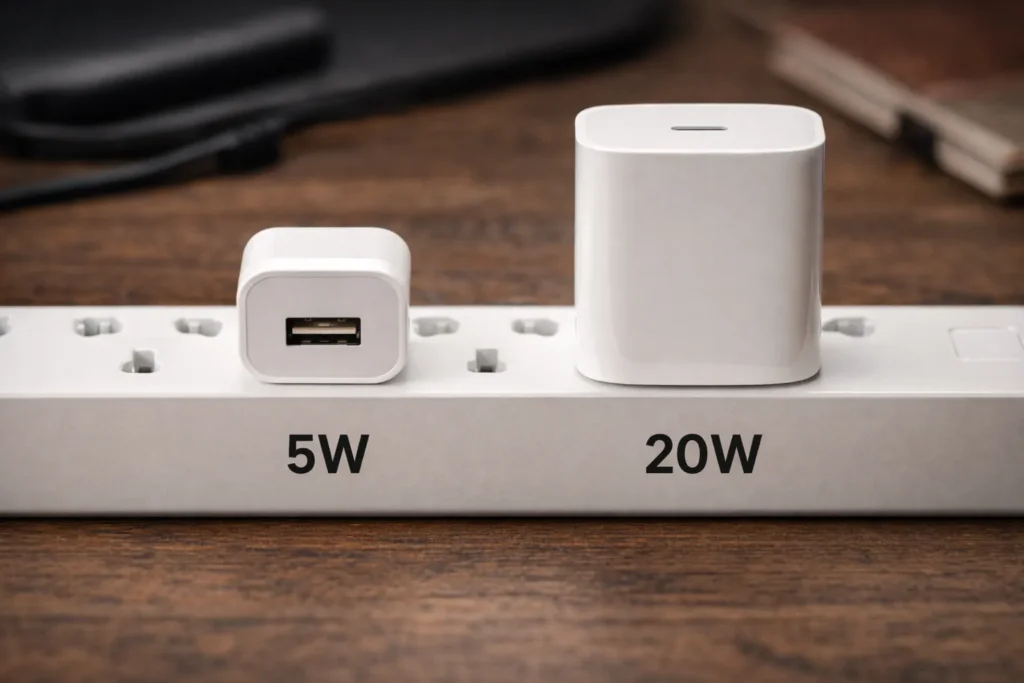
2. The Adapter Trap (5W vs 20W)
If your complaint is “slow charging” rather than “no charging,” check your brick.
- The 5W Cube: The old, small square adapter (that used to come in the box) outputs only 5 Watts. It takes 3-4 hours to charge a modern iPhone. This is obsolete in 2026.
- The 20W Standard: Modern iPhones (iPhone 12 and later) require a 20W USB-C Power Adapter to utilize fast charging (0% to 50% in 30 minutes).
Technician Rule: If your iphone charging not working efficiently, ensure you are using a USB-C to Lightning (or USB-C to USB-C) cable with a 20W brick.
Phase 3: The 80% Limit (Software Logic)
I receive countless service tickets stating, “My iphone charging not working past 80%.” This is rarely a hardware failure. It is a feature designed to save your battery’s lifespan.
Optimized Battery Charging
iOS uses machine learning to understand your daily routine. If you plug your phone in at 10 PM and wake up at 7 AM, the phone will charge to 80% quickly and then stop. It sits at 80% all night and trickle-charges the final 20% right before 7 AM.
- Why? According to Apple’s battery health documentation, keeping a Lithium-Ion battery at 100% for hours significantly accelerates chemical aging.
- The Fix: If you need a full charge now, long-press the notification on your lock screen and select “Charge Now.”
Heat-Induced Throttling
Batteries hate heat. If you are charging in a hot car, under a pillow, or using a thick rubber case while gaming, the internal temperature will rise.
- The Safety Stop: Once the battery hits roughly 95°F (35°C), iOS cuts power to the charging circuit to prevent explosion risks. It will resume only when the temperature drops.
- The Fix: Remove the case and move the phone to a cool surface (like a glass table or tile floor).
| # Related Guide: Is Your Battery Actually Dead? |
| If your phone charges but drains in 2 hours, cleaning the port won’t help. You might need a hardware swap. Don’t get scammed on the price. Read This: How Much to Replace iPhone Battery? The Real 2026 Cost |
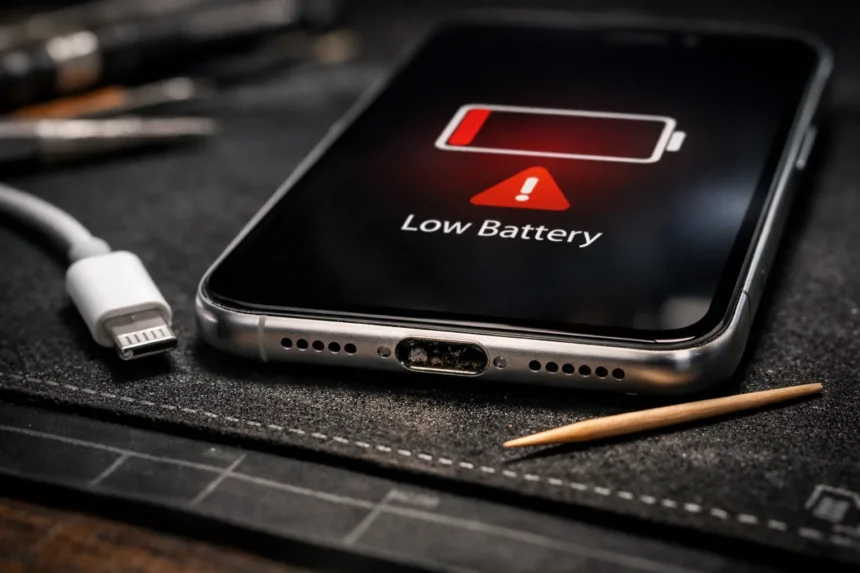
Phase 4: The “Black Screen” Panic (Force Restart)
Sometimes, the iphone charging not working issue is a “ghost.” The phone is actually taking a charge, but the display driver or operating system has crashed, leaving you with a black screen that won’t wake up.
Plugging it in does nothing. Pressing the power button does nothing. You need to perform a Force Restart (Hardware Reset). This physically cuts power to the logic board and forces a reboot.
How to Force Restart (iPhone 8, X, 11, 12, 13, 14, 15, 16, SE Gen 2/3):
This must be done quickly (in a rhythm):
- Press and quickly release Volume Up.
- Press and quickly release Volume Down.
- Press and HOLD the Side Button (Power button).
- Keep holding (even when the screen goes black).
- Release the button only when you see the white Apple Logo.
If the Apple Logo appears, your charging port is fine. Your software just crashed.
Phase 5: The “Liquid Detected” Warning
If you plug your phone in and get a wet drop icon with the text “Liquid Detected in Lightning Connector”, charging is disabled for safety.
- What it means: The sensor inside the port detects moisture or high humidity.
- What NOT to do: Do not use a hairdryer (heat damages seals) and do not put it in rice (rice dust creates “cement” inside the port).
- The Emergency Override: In a life-or-death situation, you can tap “Emergency Override” to force charging, but this risks corroding the pins permanently.
- The Fix: Tap the phone gently against your hand with the port facing down to shake out water, then let it air dry in a well-ventilated area for 30 minutes.
Conclusion
You do not always need a new battery or an expensive repair. In the vast majority of cases, an iphone charging not working issue is a simple maintenance problem. It is usually just pocket lint preventing contact, or a software safety feature (heat/optimization) doing its job.
Your Checklist Before Spending Money:
- Check the Lint: Perform the toothpick clean.
- Check the Cable: Ensure pins are clean and it is MFi certified.
- Check the Brick: Ensure it is a 20W adapter for modern speeds.
- Check the Temp: Cool the phone down if stuck at 80%.
Ownership means knowing how to maintain your gear. Don’t let a little dust stop you from staying connected.
Frequently Asked Questions (FAQ)
Can I use a needle for iPhone charging port cleaning?
No, Metal objects can short-circuit the gold pins inside the port, causing permanent motherboard damage. Always use non-conductive tools like wooden toothpicks.
Why does my iPhone charge for a second then stop?
This “intermittent charging” confirms a loose connection, usually caused by compacted lint pushing the cable out. Deep cleaning the port solves this 99% of the time.
Is wireless charging safe if the port is broken?
Yes. If your iphone charging jack not working permanently, MagSafe or Qi wireless charging bypasses the port entirely and is a safe alternative to keep using the phone.
How do I know if it’s the battery or the charger?
If your phone works while plugged in but dies instantly when unplugged, the battery is dead. If it doesn’t react at all when plugged in, the charger or port is the issue.